
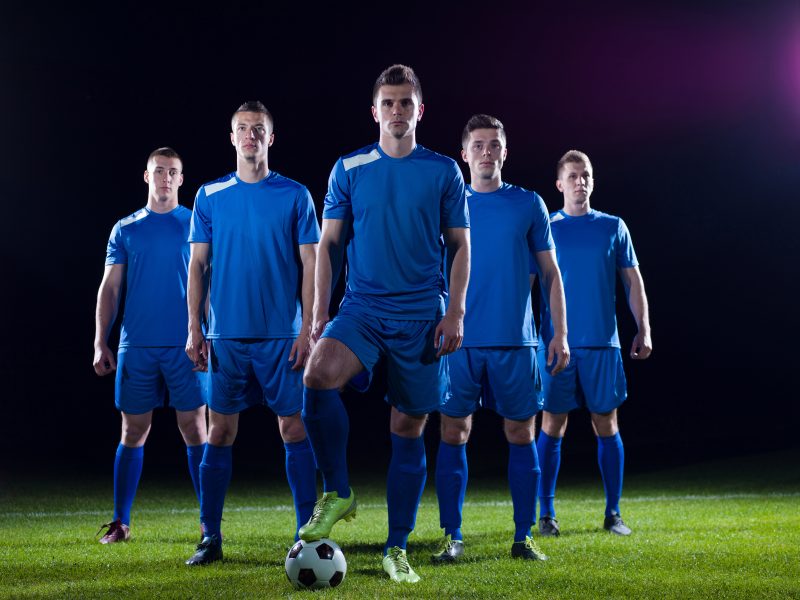
The more people in a photograph, the more complicated the shot — which means that sports team photography is, well, a challenge for the rookies. Managing multiple players, getting multiple faces sharp and getting all the eyes looking at the camera isn’t an easy task, whether that’s a pro team or the local Little League. But, with a few sports team photography tips from the right organization strategy to the ideal camera settings, you can both capture a worthwhile memory, and, for pros, open up additional opportunities for revenue.

Get organized
A little bit of planning goes a long way. Before the shoot, track down a team roster. This will give you an idea of just how many players you need to place in the shot. Most teams can be assembled into a single photo by varying the height without props simply by varying the position. But, you don’t want to be blindsided by a football team with a big second string and no way to get them all into one photo. By planning ahead, you know if you need to move that photo to the bleachers to fit everyone in.
Want to learn sports photography from pros like Red Bull photographer Dustin Snipes and Olympic sports photographer Al Bello? Subscribe to Creator Pass to access our full library.

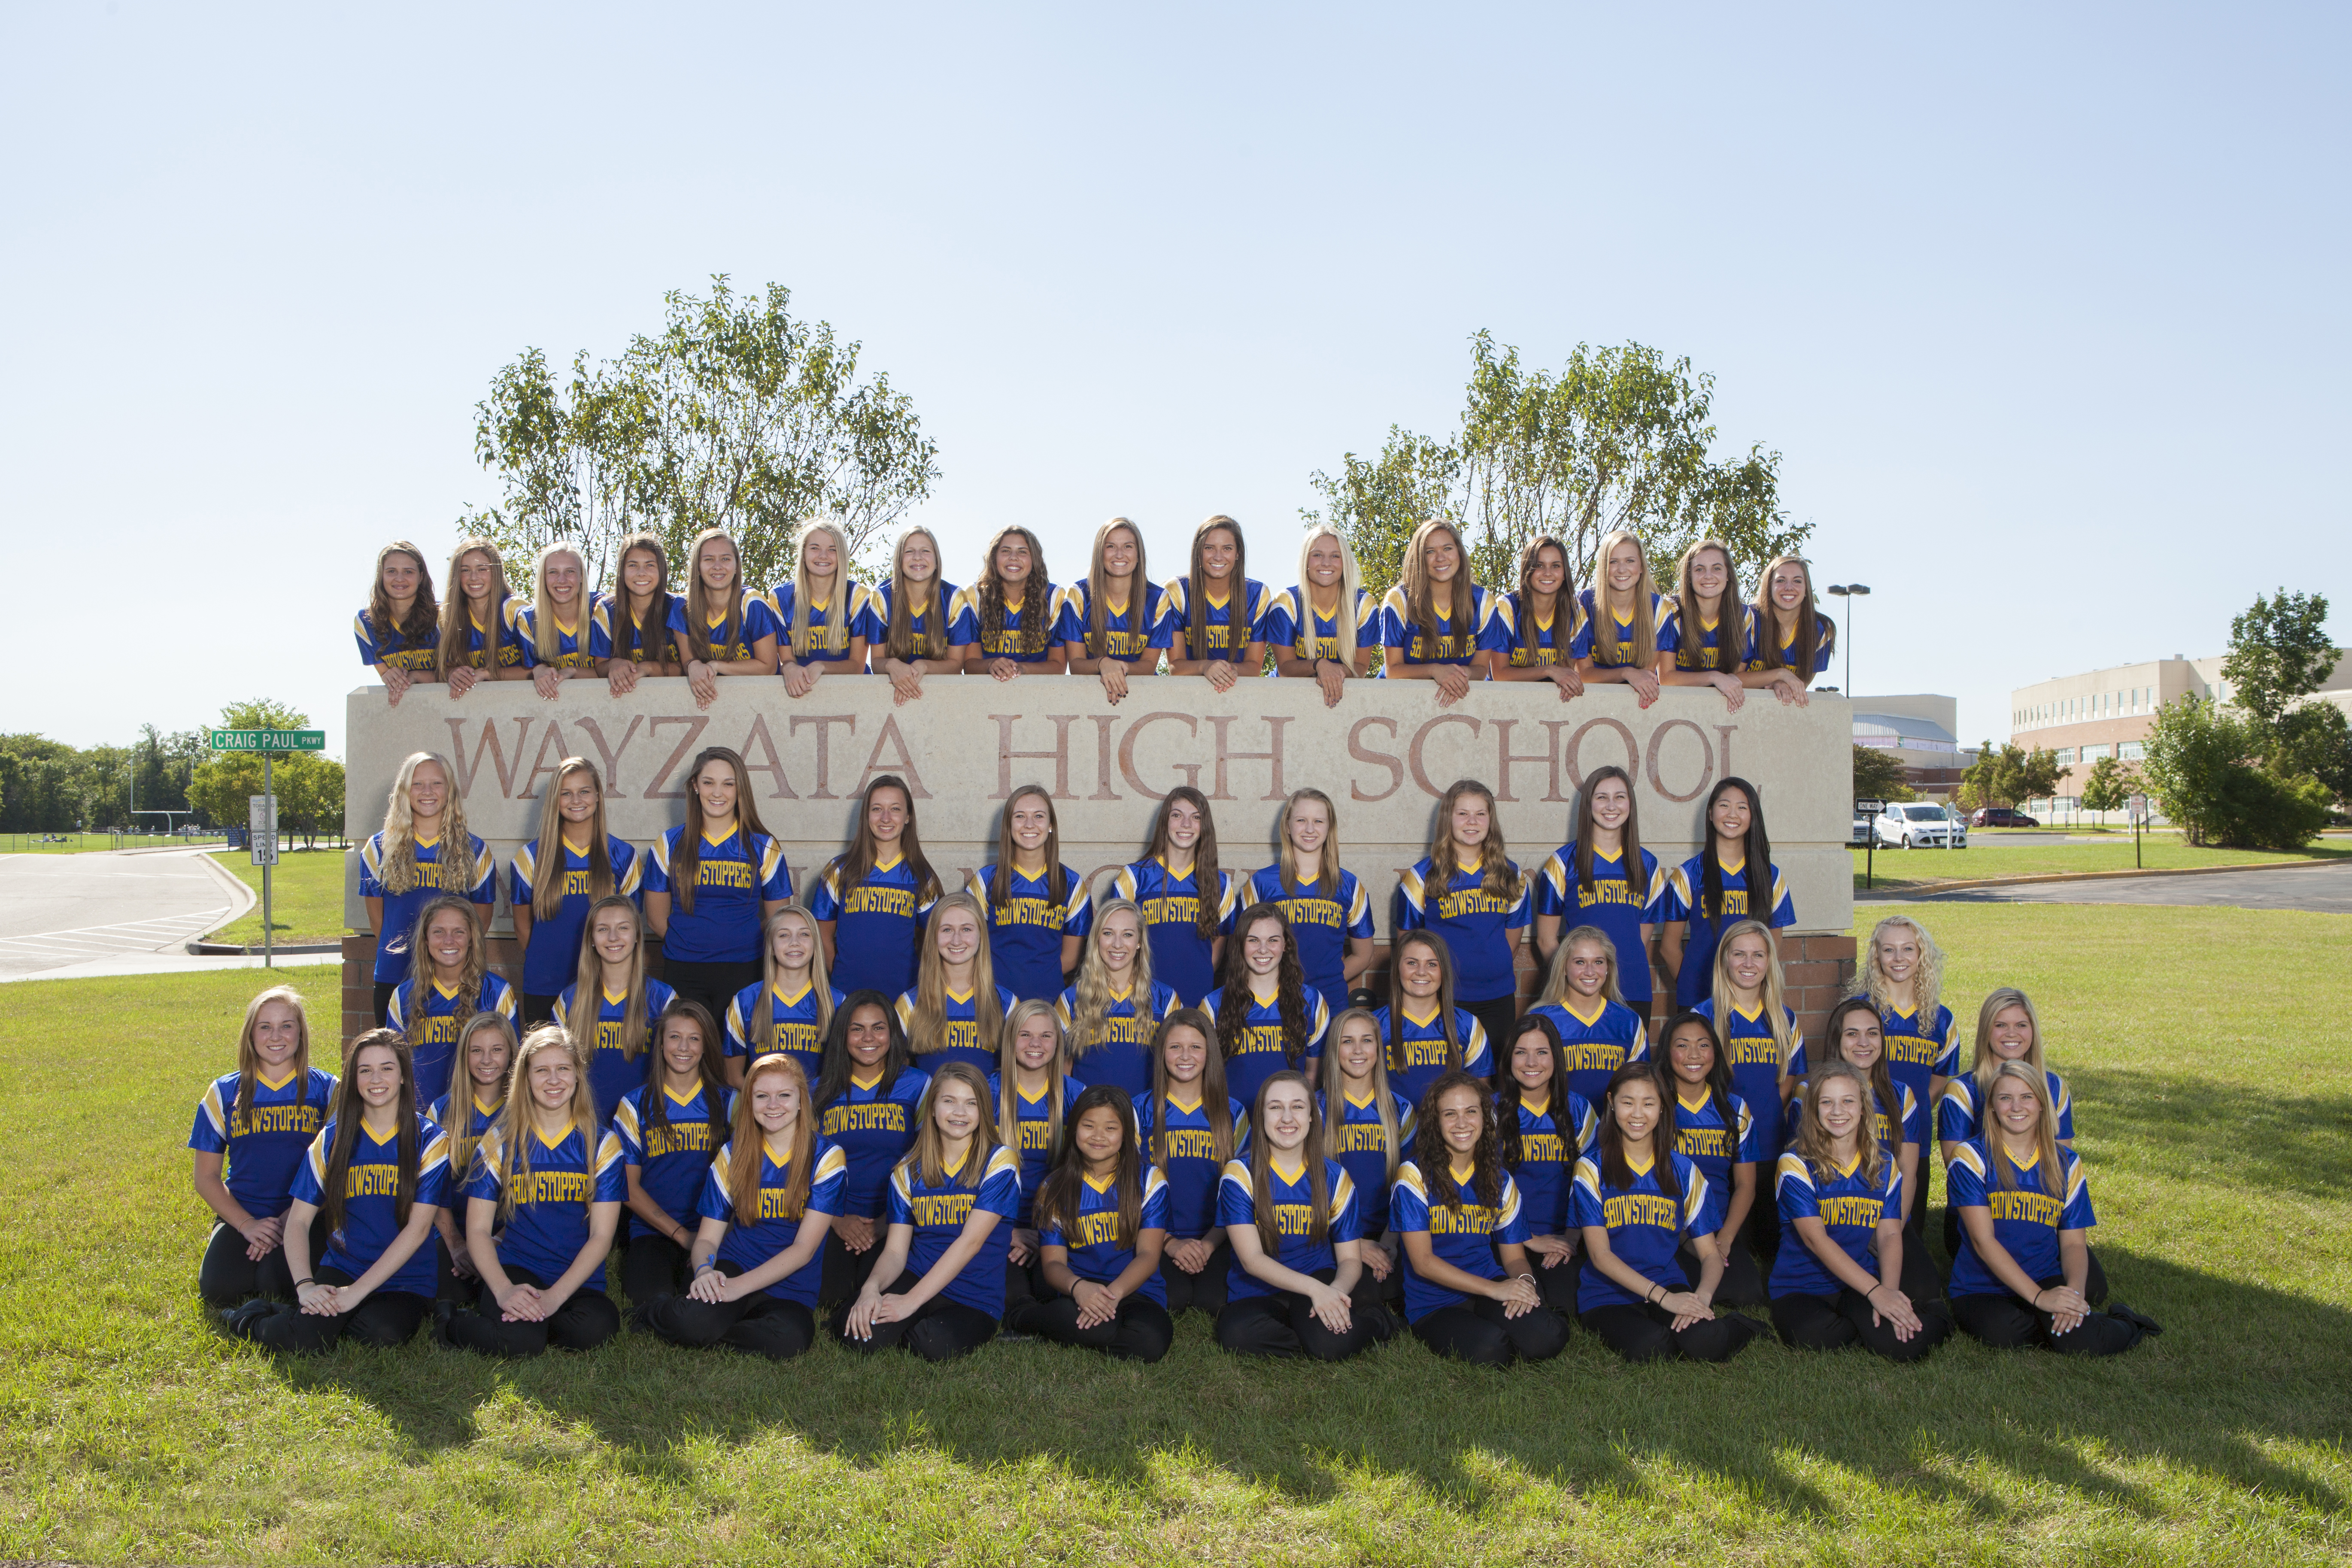
Figure out the rows
One of the biggest challenges to sports team photography is fitting all the faces into the space of a 3:2 image. Start by determining how many rows you will need based on the size of the team. Teams of 20 or less can use about five to six players per row. Teams of 40 or more will have ten or more people to a row. Remember, you want a sort of rectangular grouping to fit inside a traditional aspect ratio.
Rows don’t have to always have the same number of people — and in fact, adjusting the length of the rows helps get faces in by putting the second row between the shoulders of the front row, not directly behind their heads. For large teams, try alternating the length of the rows — for example, the first row may have eight people, the second row seven and the third row eight again. When shooting smaller teams, you can increase the row length as you go back — such as two in the first row, three in the second and four in the back for a nine-person team.
For sports team photography, think levels
The key is to get everyone on different levels, and the larger the team is, the more important that is. Alternating each row’s position ensures no faces are blocked by other players. For prop-free posing, consider alternating heights by having each row maintain one position, like:
- Laying down (This works best with only one or two players, and often those in special positions, like the goalie.)
- Sitting
- Kneeling
- Slightly bent with hands on hips
- Standing
Most often, this means that group photos without any props are limited to four to five rows. But, if you have a variety of heights on the team, you may be able to create more rows by arranging the average height players in the first three rows sitting, kneeling and crouching, then the shortest players standing followed by the tallest players standing.
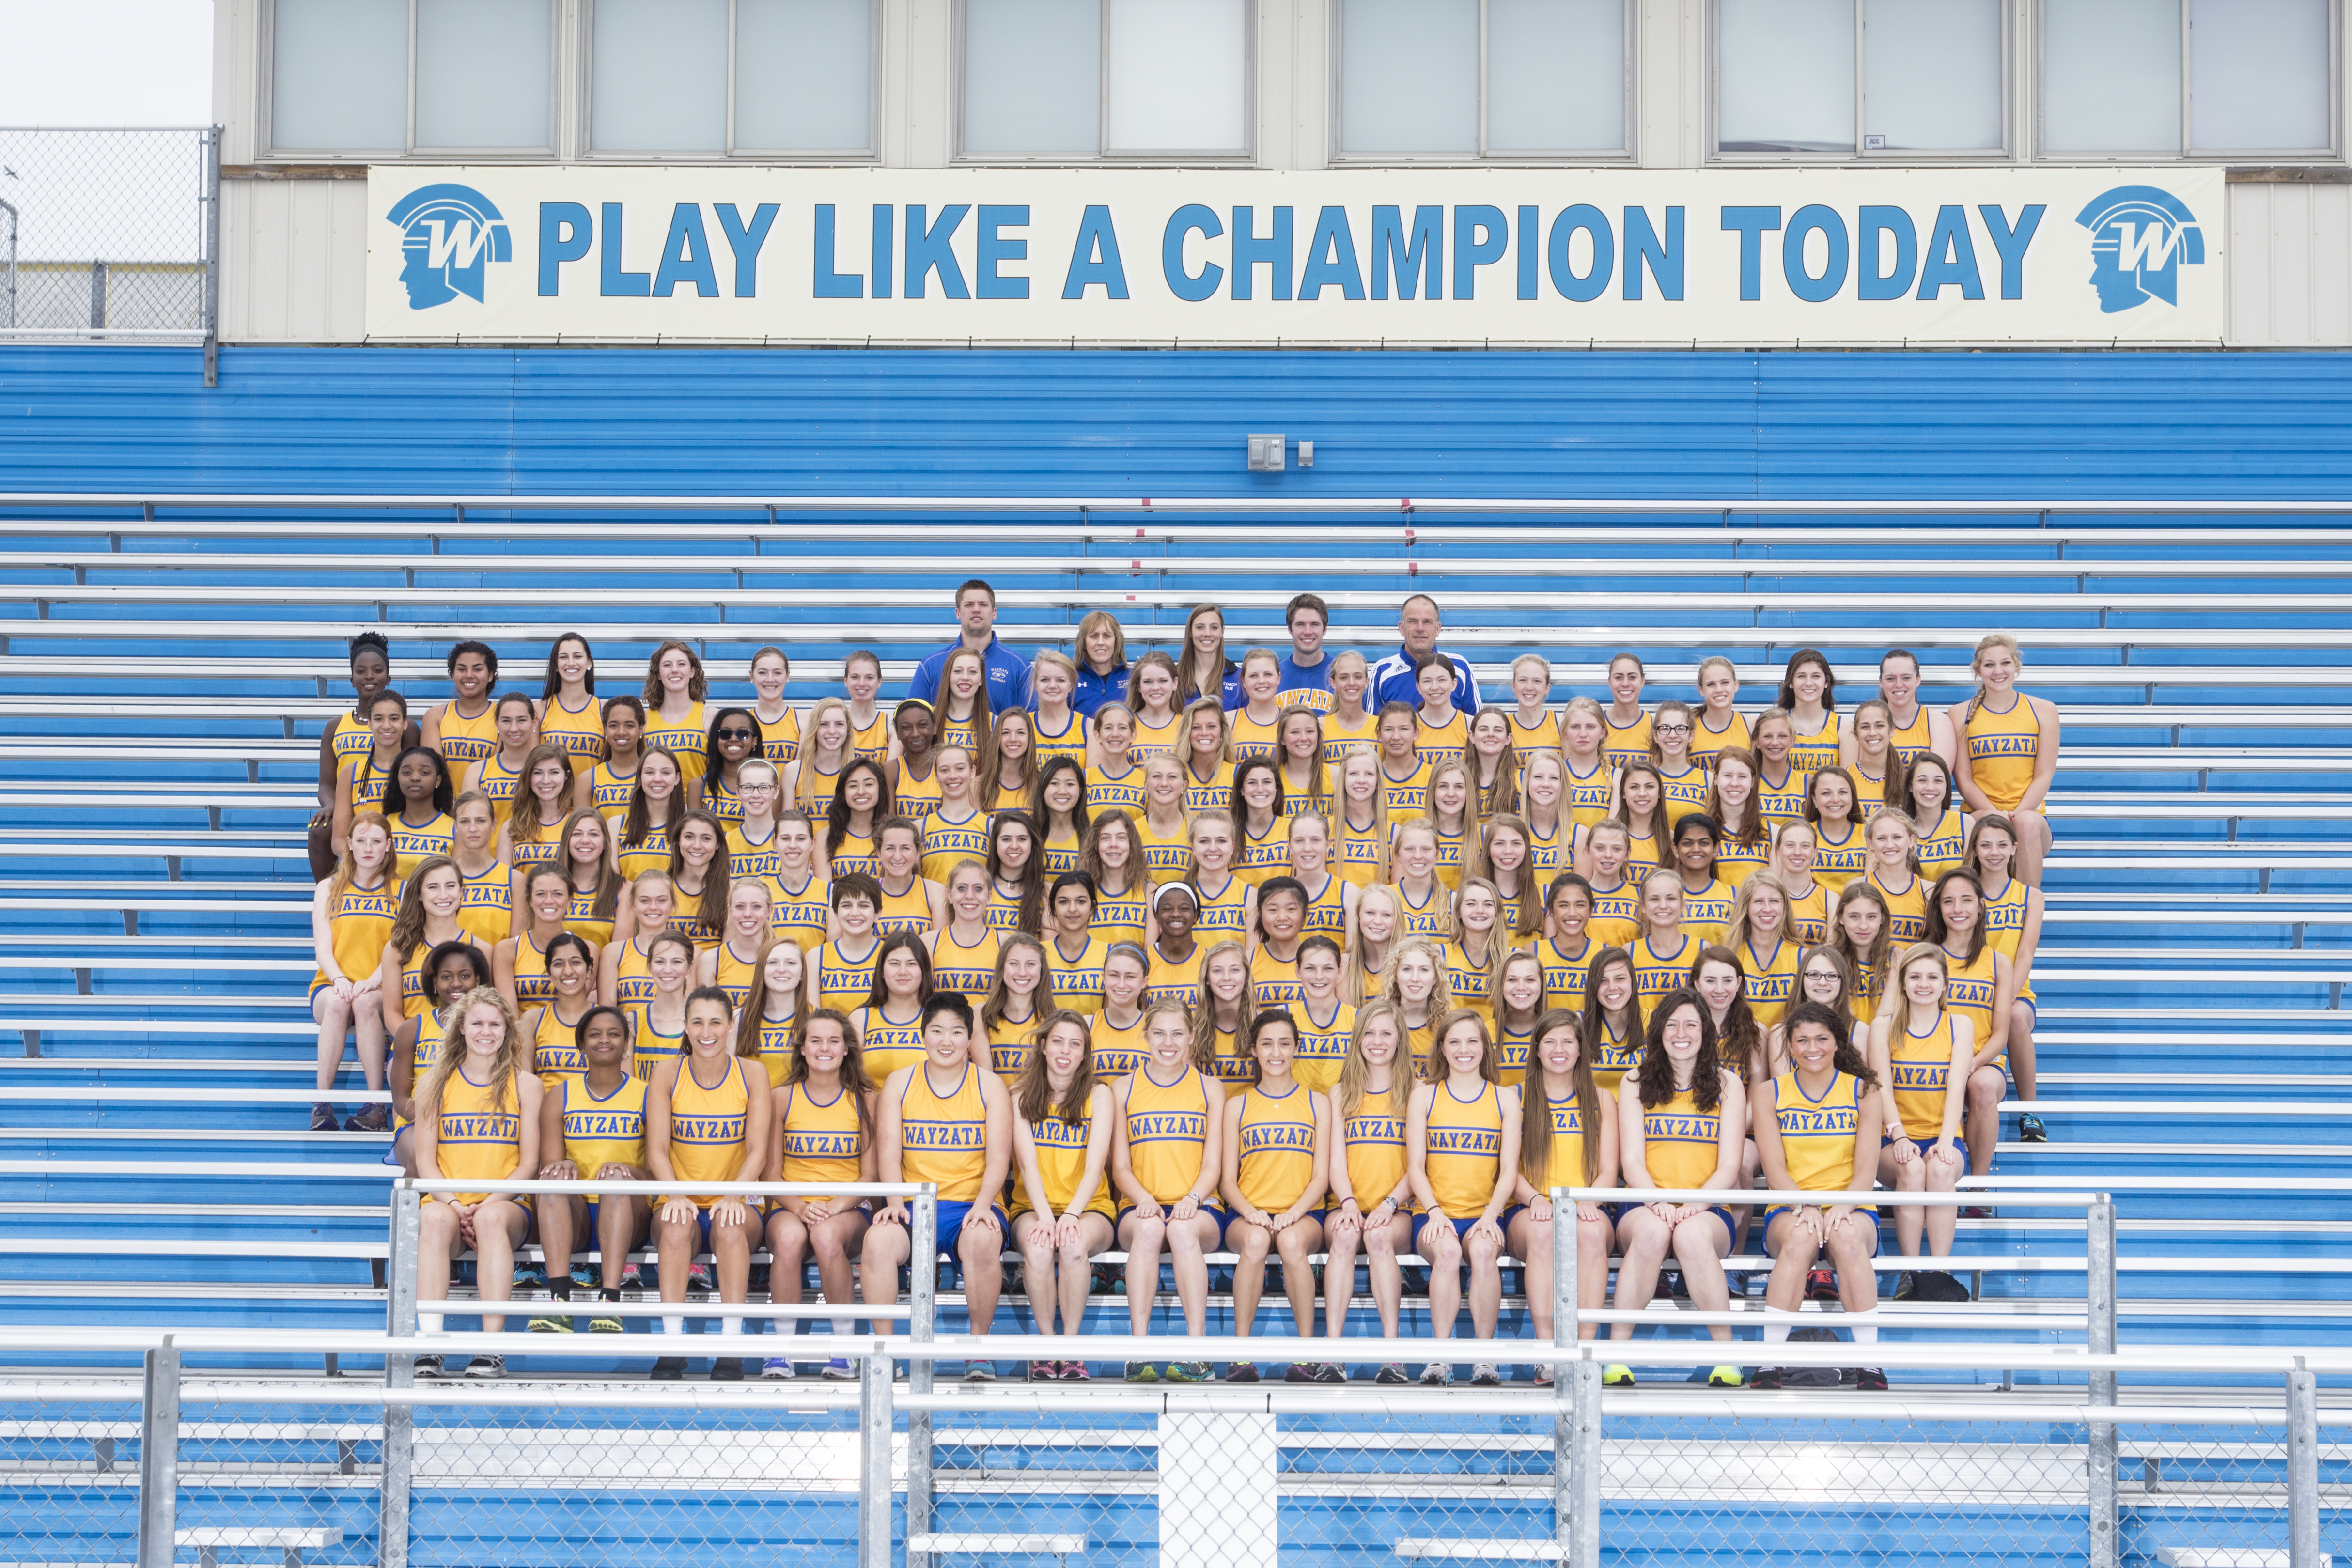
For the largest teams, you may need to use a set of bleachers to fit everyone in with multiple rows. Standing on top of a ladder can also help create group poses where everyone is standing, arranged by height, but everyone’s faces are still visible.
Start with the first row, then fill in gaps
Once you know how many rows you need to organize, get the players into position. Typically, you’ll start by lining up the players by height so that it’s easy to layer the shortest players in the front. Alternatives are to line up by jersey number or keep groups together, like offense and defense, for example, but organizing by height helps make sure no faces are blocked by the player in front of them.
With the first row in position, direct the next row to stand in between two players in the front row, so that each person is standing above someone’s shoulders, not directly behind their head. Keep any subsequent rows as close as possible to the row in front of them, or the back row won’t be sharp.
Think symmetry or uniformity
There are multiple ways to pose individual players that look good, but the key to posing groups is creating a cohesive look. There are two approaches here — the first is to have everyone in the same row doing the same thing, including both how they are standing or sitting as well as the position of their hands, knees, and feet.
The second option is to create symmetry by slight variations on opposite sides of the group. If the front row is kneeling, the middle player could have both knees down, while the left side can raise one knee and the right side can raise the opposite knee.
Use a narrow aperture and focus one-third of the way in
One of the biggest questions rookie photographers have after attempting a sports team photography shoot without training is this — “Why is the back row so blurry?” You have to tell the camera — or in this case, the lens — that you want more of the photo to remain sharp. That means both getting the rows as close together as possible and using a narrow aperture. Try using aperture priority mode with an aperture camera setting of at least f/8, higher for teams with four or more rows (Need more aperture education? Our Ultimate Aperture Guide has everything you need to know).
Focusing on the front row, however, wastes some of that sharpness or depth of field. For smaller teams of three rows, place the focal point on the middle row. For groups with more than three rows, place the focus point one-third of the way into the group.
Turn on burst mode and take lots of photos
Simple math says the more people that are in the photo, the more blinks you’re going to catch. Turn on burst mode to take several photos in quick succession — and take more photos than you think need. Counting down from three can also help everyone try to keep their eyes open — just start that burst a split second before you reach the full count.
Don’t be afraid to be loud
Managing large groups is not the time to be quiet and polite. In order to be heard, make sure to speak up and give clear, concise directions. For the biggest groups, some photographers even grab a megaphone so they can be heard over the chatter. While you shouldn’t be rude, you need to be authoritative to get everyone in position quickly. If you need, enlist the help of a coach.
Managing the number of large number of people in team sports photography is tough — but learning the techniques to shooting large groups creates both an important memory for the players and a potential for a steady income source for photographers through large volume photography.
Want to learn sports photography from pros like Red Bull photographer Dustin Snipes and Olympic sports photographer Al Bello? Subscribe to Creator Pass to access our full library.


